How to Import your Keystone Hardware Wallet into Solflare
Keystone firmware versions M-6.0 (Multi-Coin) or newer enables the Solflare Web App (v1.29 or newer) to be used with your Keystone and sets the extension as a watch-only wallet for your Keystone Essential or Keystone Pro device.
Before going through the steps in this guide, make sure you’ve upgraded your Keystone firmware to versions M-6.0 (Multi-Coin) or newer. Please read How to upgrade firmware for more details.
Step 1
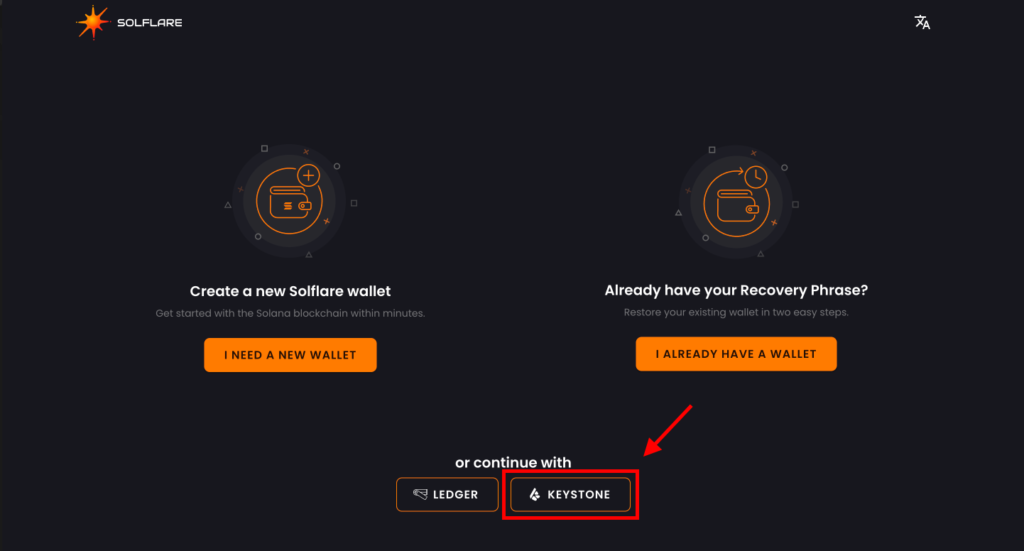
- Go to Solflare.com and click Access Wallet.
- Click Keystone icon on the main page.
Step 2
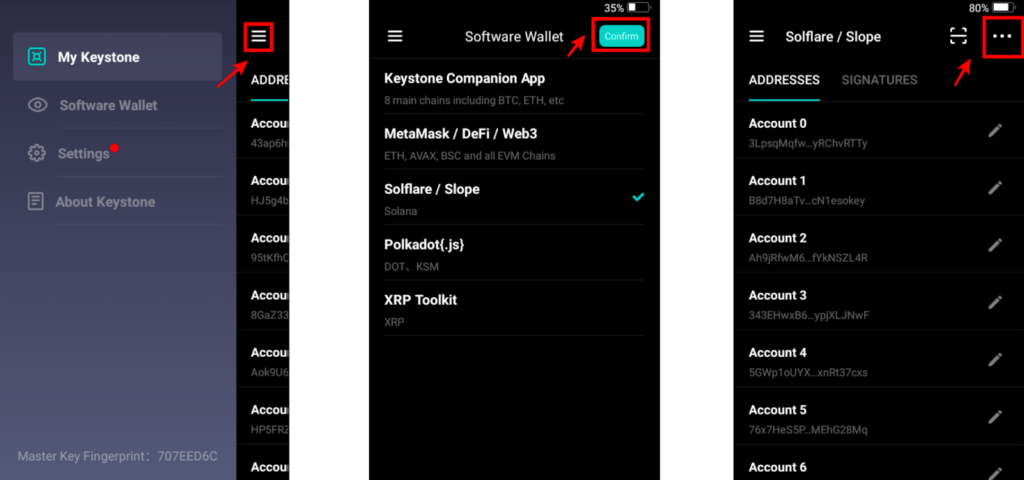
- On your Keystone: Tap the Menu icon.
- Then Tap Watch-only Wallet on your Keystone device.
- Then select Solflare / Slope and tap Confirm.
Step 3
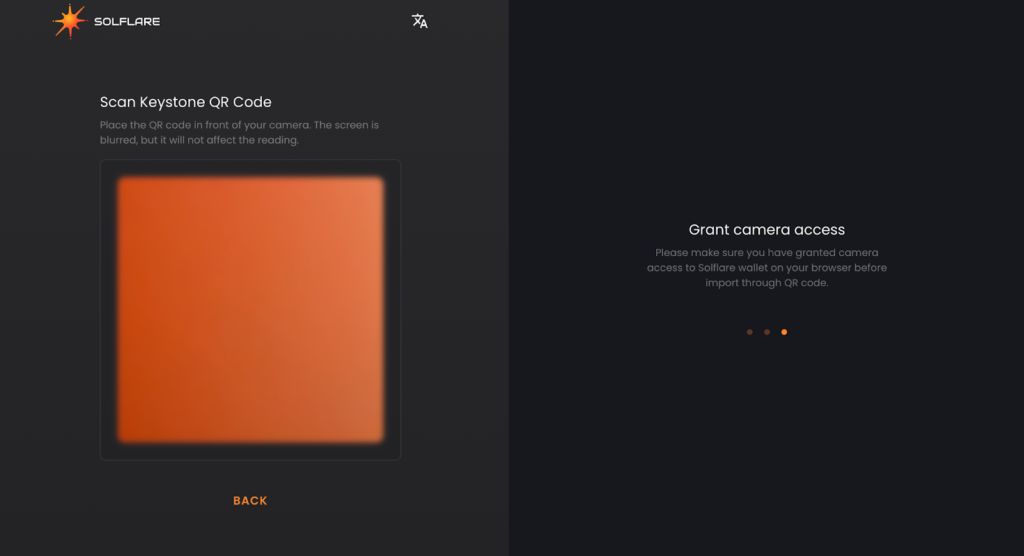
- Scan Keystone QR code with your computer’s camera.
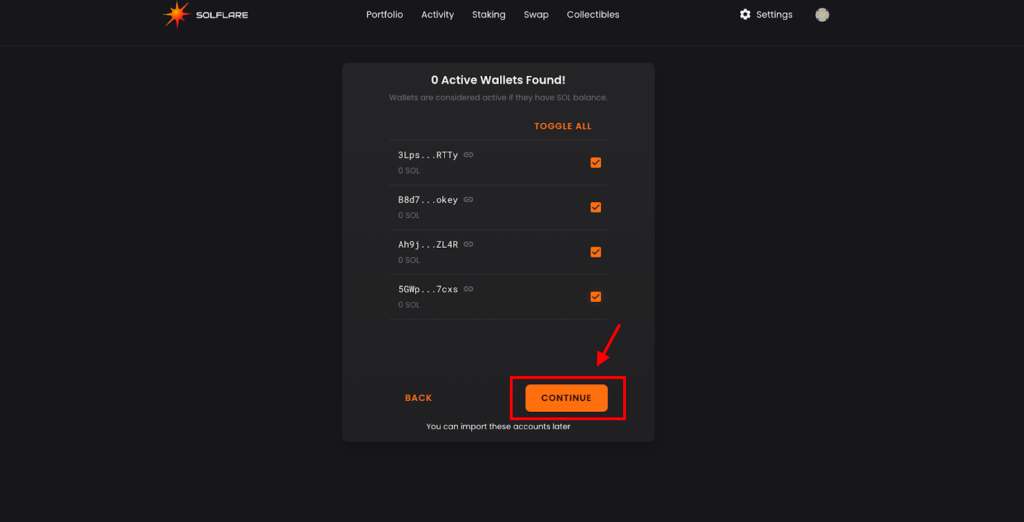
- Select the accounts that you are going to import then tap Continue.
- Set a password for your wallet, then click Continue.

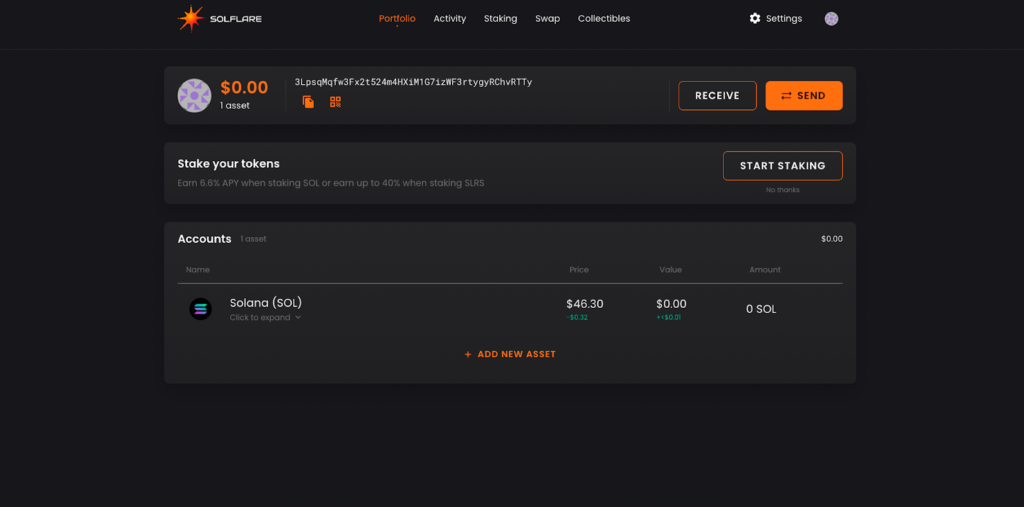
That’s it!
Your Keystone Hardware Wallet has now been successfully imported to Solflare!